Basic Baking Essentials – And More
By Chef David
Cooking refers broadly to any food preparation that involves heat and combining ingredients. Yet far too often we associate baking only with breads and desserts. For amateur cooks, this type of baking can be off-putting, and something to be avoided. While most forms of cooking use recipes as simple guidelines, encouraging experimentation and substitution, baking requires practice and precision for proper execution.
In actuality, baking encompasses a wider range of culinary styles many of which encourage experimentation. For starters, there are sheet pan meals. These one-dish wonders combine protein and veggies on a baking sheet. Casseroles are another traditional dish that you assemble and bake in an oven. Both are forgiving, allowing the cook to assemble and then relax until mealtime. These baked dishes are functional, and they make great simple meals. There are also classic baked dishes such as brisket, turkey, and meatloaf, as well as pot pies and even quiches.
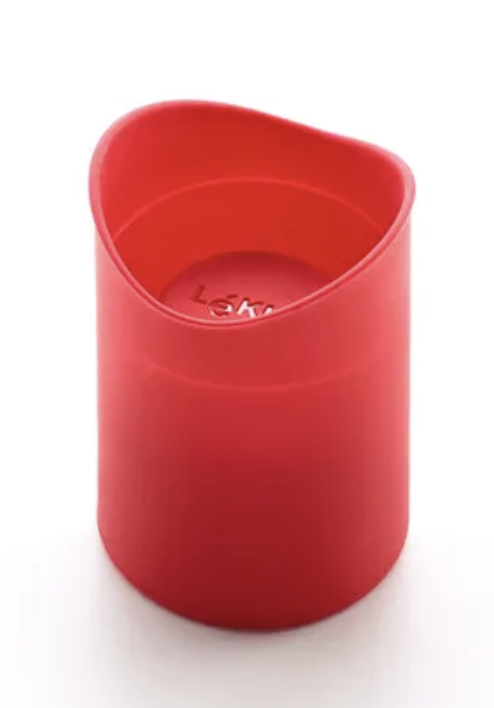
Shot cup cookie made in Lékué mold
Essential Baking Tools
Bakers rely on a few kitchen essentials which we have discussed in previous articles- a kitchen scale, thermometer, oven mitt, and rolling pin. One additional item to add to your collection is a silicon baking mat or sheet and you are ready to bake!
Traditionally bakers used parchment paper, to bake cookies and desserts, and metal baking pans for making proteins and vegetables. While these choices are effective, we found silicone more versatile and sustainable. Baking with silicon is healthier since it does not require as much additional grease due to the non-stick properties of silicone. When baking on silicone, combine the ingredients, place them on a sheet/mat put it in the oven, and relax. They only require minimal attention as you allow them to bake.
Unlike parchment paper, silicon is strong and reusable, with a low risk of leaking or tearing. Unlike metal sheets, there is no risk of rusting, denting, scratching, or losing their non-stick properties. Your silicon mat can double as a work surface that goes directly into the oven and can be used in the microwave, or in the freezer. This helps keep your countertop clean and keeps you from scrubbing burnt-on foods. Silicone baking mats are multi-use items that replace metal pans, parchment paper, or aluminum foil.
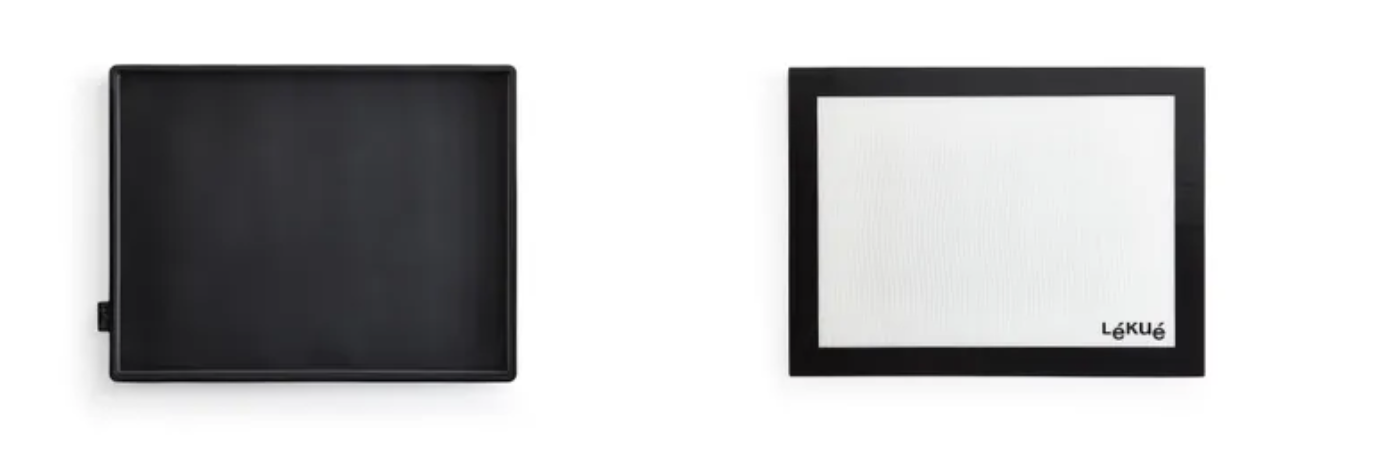
Silicone baking sheet and baking mat
Baking with Silicone – Dos and Don’ts
With proper maintenance and care you can extend the life of your baking mats and sheets.
- Keep knives away, they can damage the silicone.
- The baking mat and sheet are designed for temperatures up to 428ºF. They are meant to be placed in the oven, microwave, dishwasher, and fridge. But are not intended to be used in a broiler that can reach temperatures in excess of 550 ºF.
- They are dishwasher friendly, but it is best to hand wash them after each use with a soft cloth/sponge and warm, soapy water.
- Store them flat.
The Lékué Difference
The silicon provides a reusable option that is becoming increasingly popular. We tested Lékué baking mats which are completely flat and clear, made with a fiberglass core surrounded by transparent silicone. The fiberglass silicone combination provides optimal heat distribution, for faster even baking. Their baking sheet is entirely black with a lip preventing oven spills. It is made entirely of silicone and is perfect for sheet pan meals or roasting vegetables.
Their nonstick surface provides consistency bake-after-bake resulting in your dishes having evenly browned bottoms.
Lékué designs and manufactures unique culinary solutions. Their products, gadgets, and utensils are high quality and durable. We were impressed with their attention to detail, and consistently high-quality and smart designs. Their products are both practical and elegant, available online at Lékué. They may even change the face of traditional cooking.
With Lékué, and a little practice, everyone can cook like a gourmet.
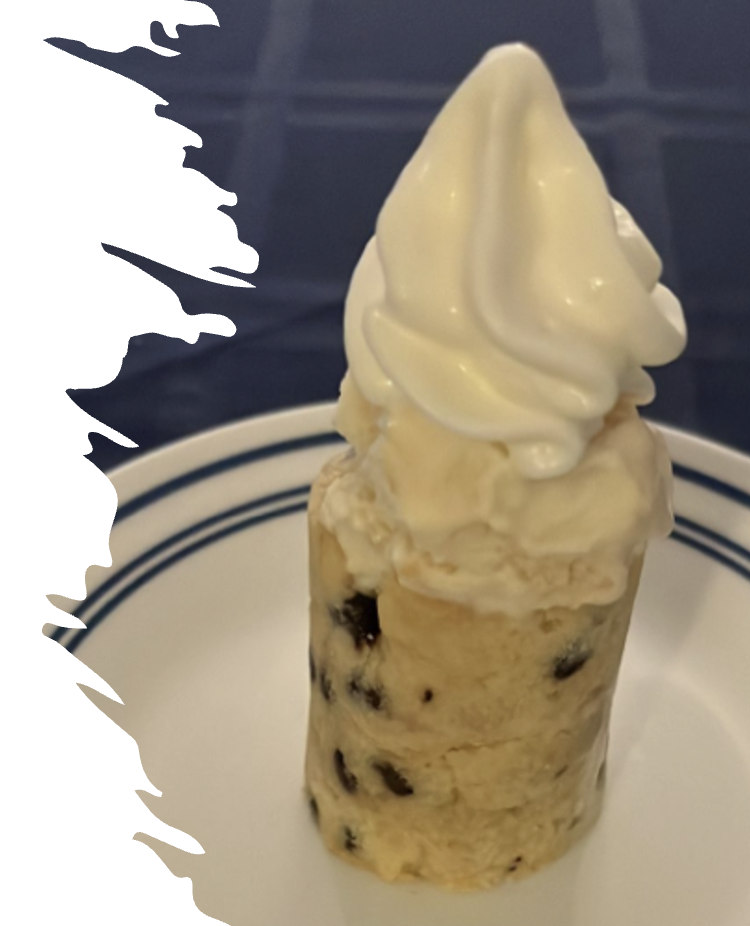
While you are practicing and perfecting your baking skills, you can use the Lekue designs to create impressive desserts. Our staff baker followed their instructions on the Cookie Glass molds. She produced impressive, restaurant-quality desserts.
These molds create a shot-cup-shaped cookie shell that can be lined with chocolate and filled. We tested it with a chocolate liner and milk, experimented with ice cream filling, and topped with whipped cream. It was delicious!
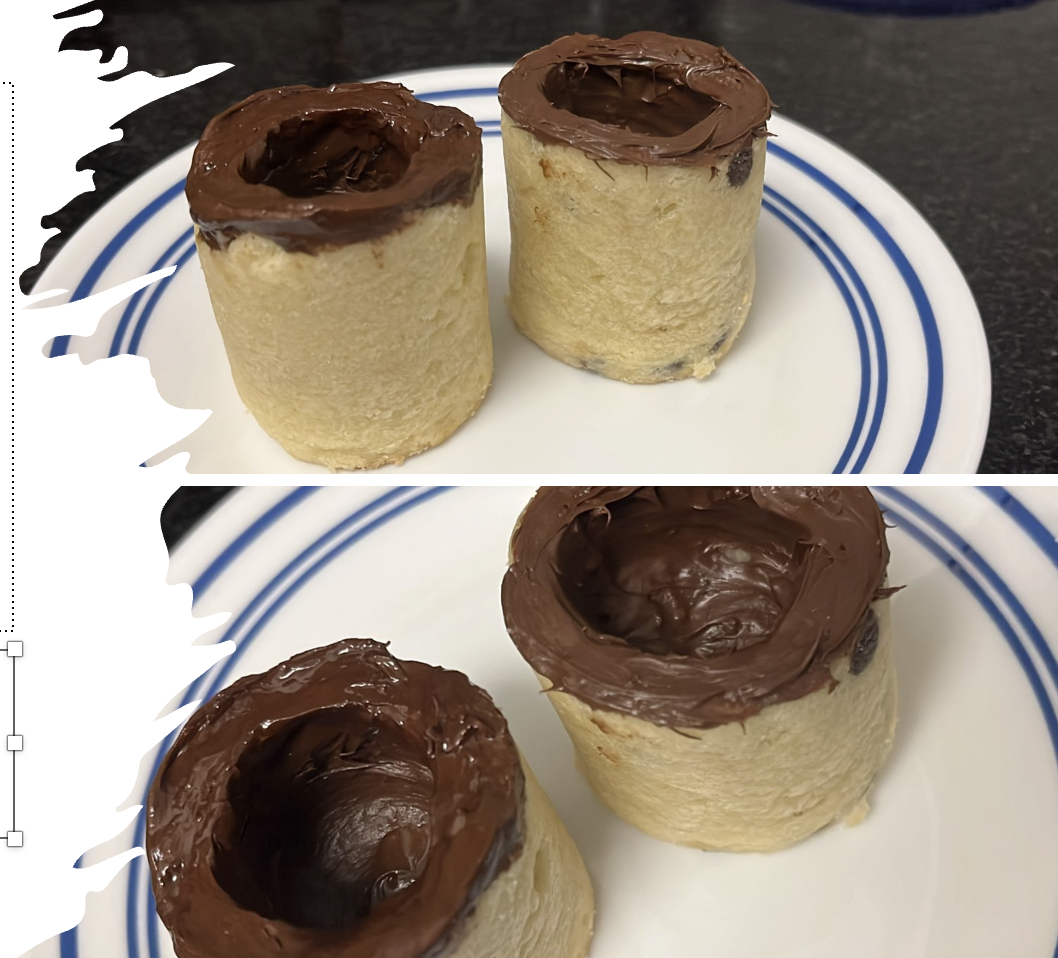
Shot cup cookies made with Lékué mold
_____________________________________________________________
Try these Shot Glass Cookies (recipe adapted from Lékué)
Ingredients
- 7 tbsp. butter
- 2 tbsp. sugar
- 2 1/3 cups all-purpose flour
- 1 tsp vanilla extract
- 1 pinch of salt
- 1 egg yolk
- 2 tbsp. water
- 1/4 cup vegetable oil
Instructions
- In a bowl, mix the dry ingredients: the flour, sugar, and salt, and gradually add the butter.
- Mix the butter into the flour and begin kneading. Whisk the egg yolk with the vanilla extract, add it to the dry ingredients, and mix again. Finally, add the water and vegetable oil. Mix until you have a smooth dough.
- Make a ball with the dough, wrap it in plastic, and put it in the fridge for 20 minutes (it’s normal for the dough to become crumbly).
- After standing, fill each mold with about 1/8 of the dough (to the mark shown in the mold). Make sure the molds are well-filled and pressed down.
- When you have all the molds filled, bake them for 20 min at 355ºF.
- After 20 minutes take the cookies out of the oven and leave them to cool for a few minutes before turning them out.
- Fill the cookies with your favorite ingredients and fillings and… enjoy!
We experimented with melting and pouring chocolate into our cookie cups.
_____________________________________________________________
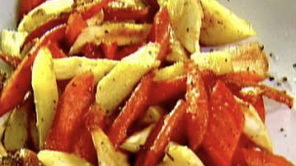
Sheet Pan Meal
Roasted Carrots and Parsnips with Thyme (modified from the Food Network)
When preparing your holiday meals, consider combining carrots and honey into a simple satisfying pan meal. The recipe requires about 10 minutes of preparation and 20 minutes of cooking time.
Ingredients
- 1 pound carrots
- 1 pound parsnips
- 3 tablespoons extra-virgin olive oil
- 2 tablespoons honey
- Salt and freshly ground black pepper
- 6 sprigs of fresh thyme
Instructions
- Preheat the oven to 350 degrees F.
- Peel the carrots and parsnips and cut them in half lengthwise, larger ones can be quartered. Place them on a large, rimmed baking sheet.
- Drizzle the carrots and parsnips with the olive oil and honey. Season with salt, pepper (to taste), thyme and toss. Then place them in the preheated oven.
- After 10 minutes, toss the veggies and return to the oven for another 10 minutes or until the vegetables are soft and slightly caramelized.
Related Posts
-
 Upscaled One-Dish Wonders
Posted on Oct 8, 2025
-
 Discover Roots: Ginger and Turmeric
Posted on Feb 24, 2025
-
 Discover: Miso
Posted on Jul 25, 2024
Tags
Share This


