Bread Making for Beginners – Crusty and Delicious
By Chef David
Do you shy away from baking bread because it sounds complicated? We tested a no-knead loaf recipe that will amaze your palate, impress your friends, and take about five minutes to prepare. This yeast bread uses just four ingredients, flour – water, salt, and yeast. The dough can sit in the refrigerator for a week until you are ready to bake it. We used the Challenger Breadware® Pan to get an artesian-style bread with a crisp crust.
While this recipe does not require fancy kitchen tools it was an opportunity to test some kitchen scales from American Weight Scales / Ozeri and play with the ThermoWorks thermometers. We simplified the already easy process by using the Brod & Taylor proofer to bring our dough to the precise temperature and our Ankarsrum stand mixer to combine the ingredients.
This recipe can easily become a staple in your cooking lineup, it is easy to bake and delicious.
Baking Pointers for Beginners
Weigh It
We recommend weighing ingredients instead of using the traditional measuring cup. Weighing provides an exact measurement, simplifies adjustments, and lets you modify the quantity while maintaining the same quality using ratios. When you bake there is no room for guesswork.
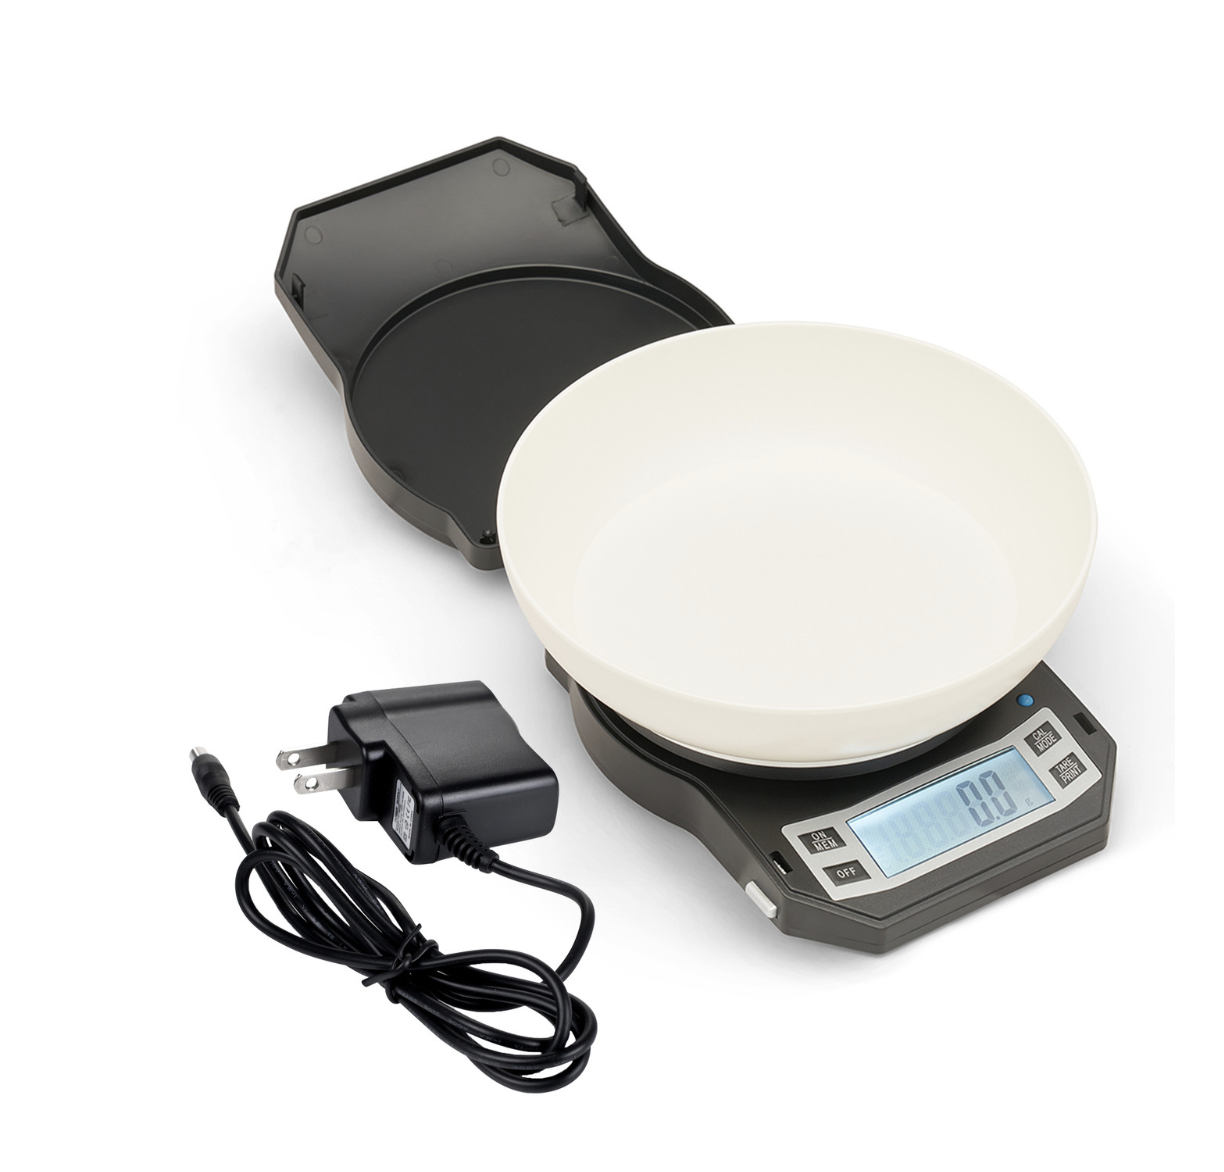
Scales are designed specifically for precision, some excel at weighting small amounts, while others handle larger measurements. Selecting the scale to use depends on the quantity of ingredients required in the recipe. We tested two scales American Weigh Scales (LB-3000 Digital Scale) and the Ozeri Stainless Steel Kitchen Scale (ZK26-BK) both are digital scales that can measure to a precision of 0.1 grams. Both were designed with defined areas, one for the ingredients and the second for the display. We found they both provided consistent and accurate readings. They are easy to use and excellent choices. The difference between the two scales is in the features and design.
The American Weigh Scales 3000g bowl scale (LB-3000) was quick and easy to use. Its large LCD display is easy to read and has a backlight that can be turned off. We are fans of the large removable plastic bowl that simplifies preparation and cleanup. Other distinguishing factors are the AC adapter which provides power without batteries, and its attached locking lid which protects the weighing surface and makes the scale ideal for travel. The lid protects the scales’ surface and maintains accuracy. This unit has a capacity of 6.6 pounds / 3000 grams (in gradations of 0.1 grams)
- American Weight Scales (AWS) a division of Sahni’s Enterprises specializes in the production and distribution of digital scales. Headquartered in Georgia, established in 2003 they produce over 250 different digital scales ranging from mini, pocket scales (so small they fit into your pocket), to traditional bathroom scales, and hanging scales ideal for weighting luggage (or checking the size of fish to make sure your catch meets size regulations). Some models even allow recalibration. AWS products are available online
The Ozeri Stainless Steel Kitchen Scale Weighing Technology (ZK26-BK) is a classic scale with a high-contrast white LED display and a stainless-steel fingerprint-resistant weighing platform. Touch buttons are located separately from the weighing portion of the unit. The Ozeri Stainless Steel Kitchen Scale can weigh up to 5000 grams with graduations of 0.1 grams. The unit automatically powers off after being idle for 2 minutes. It runs on 2 AAA batteries. We appreciated its attractive compact styling.
- Ozeri – a creator of lifestyle products began as a boutique supplier in the hospitality markets. Ozeri products are available at major retailers (listed on the Ozeri website).
Let it Rise
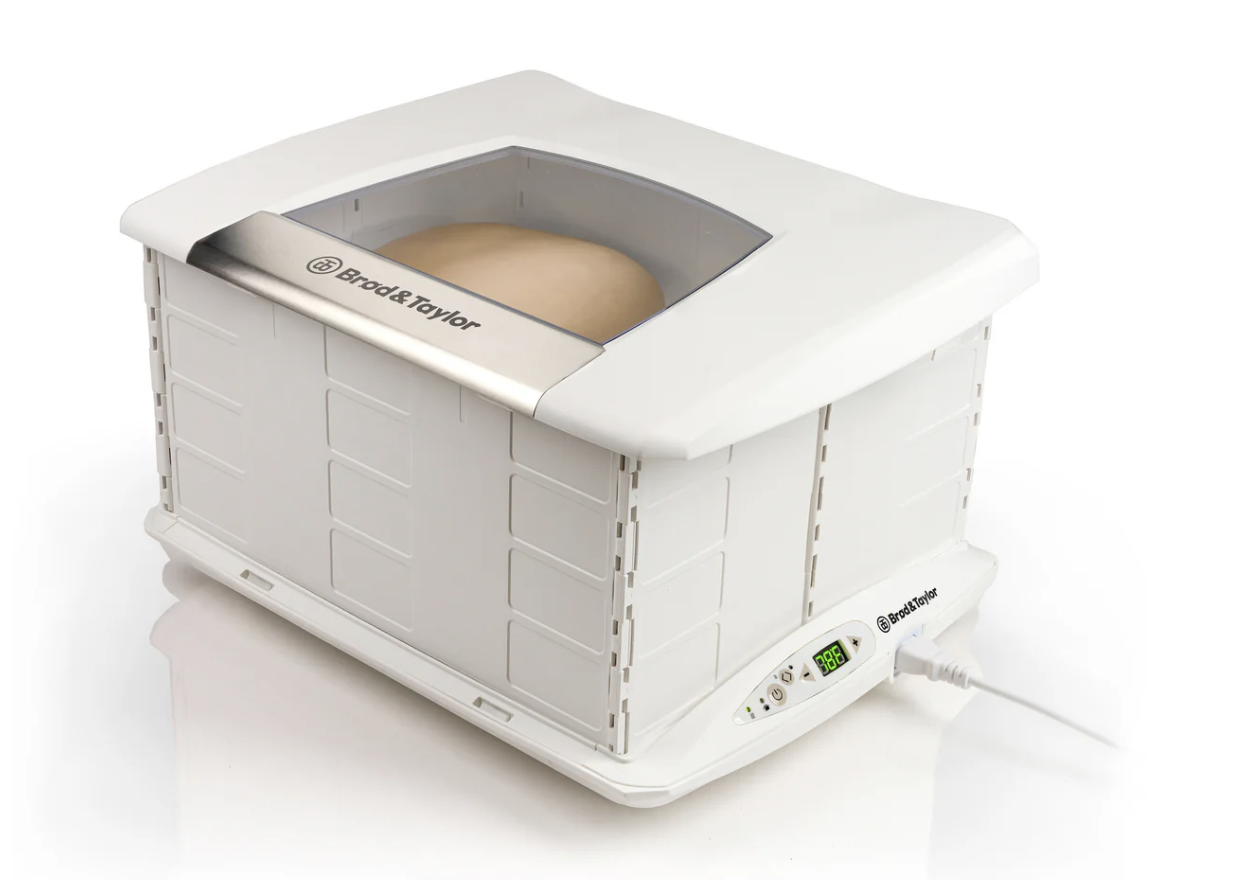
The No-Kneed Crusty White Bread recipe calls for leaving the dough to rise for 90 minutes. Since the temperature in our cooking space can be erratic, especially now that the temperature is dropping, we decided to use the Brod and Taylor proofing box. This allows us to control the environment and provides the dough with stable temperature and humidity. The box is big enough to fit a large mixing bowl. We placed the dough in the Ankarsrum mixing bowl into the proofing box. This reduced the number of dishes and limited the number of times we needed to touch the dough. We placed the bowl with dough on the rack and watched through the top window as the dough rose.

Know The Temperature
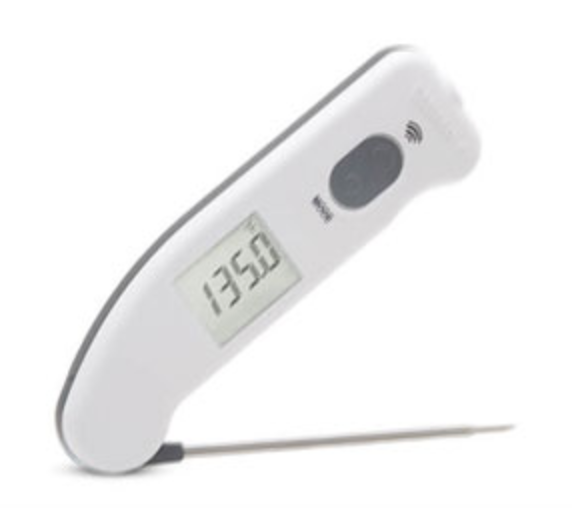
This recipe does not specify the temperature, most loaves of yeast bread will be done when the center reaches 190°F. While chefs often judge whether the loaf is done by thumping the bottom and listening for a hollow sound, checking the temperature with a thermometer is more beginner-friendly. To be absolutely sure, we reached for our Thermapen ONE thermometer. It gives an accurate reading in one second or less. Overbaking can make your bread dry.
You can also use the Thermapen Infra-Red (IR) to check the temperature of your Challenger and get an instant non-contact surface reading to ensure it is done preheating. This thermometer adds a high-quality infrared sensor to the classic Thermapen (it’s not as fast as the Thermapen ONE) allowing you to point rather than poke to get an accurate measurement.
Time to Bake – Bring on the Heat
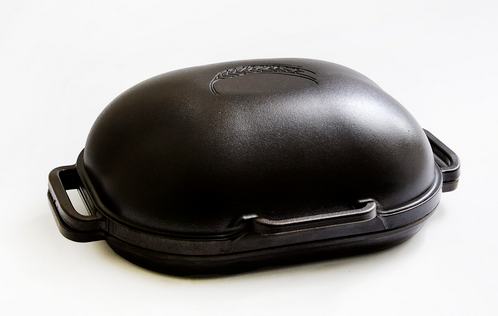
To get a proper hard-crusted artesian bread we used the Challenger Breadwear Pan, made of thick, black cast iron. This pan is substantial in size: 15.4 inches long, 12.5 inches wide, and 5.4 inches high, it provides sufficient room for the dough to rise. It is heavy, weighing 20 pounds.
The Challenger is designed by bakers for bakers. It is hand-poured and hand-seasoned and made of cast iron which absorbs, retains, and radiates heat. It is designed to last, passed down from generation to generation.
The design is deceptively simple. The bead pan has a flat base and a curved cover shaped like a bread loaf which allows it to bring radiant heat and trap steam. It is the steam that gives bread its crackling crust, rich colors, and full volume. The Challenger cover forms a tight seal with the base preventing steam from escaping when you open the oven door. The base has multiple handles that are large enough for oven mitts. The bottom of the base in big bold letters says, Challenger Breadware Made in USA.
Designed by Jim Challenger
Challenger began when founder Jim Challenger began baking as a hobby. Jim realized that to achieve the results he wanted he would need to design a pan himself.
He designed the Challenger with a shallow base making it easier to put in and score the dough. He used thick heirloom quality cast iron that evenly absorbs and radiates heat. He used a domed lid to trap the steam and included six handles which made it easier to carry and remove the cover even with heavy oven mitts.
The Challenger provides a better, safer baking experience than the traditional Dutch Oven. Using the Challenger made it easy for us to produce artisan-style loaves.
The Challenger can be purchased online
Delightful Delicious and Crusty
This no-knead dough recipe is a wonderful introduction to yeast-bread baking, especially since it requires no prior baking knowledge or fancy equipment. At the same time, it offers a culinary playground to test kitchen tools with full confidence that as long as your ingredients are measured correctly, (the flour/liquid ratio is important), nothing will prevent you from creating a crusty delicious loaf every time.
Maybe the best part is that your home will be filled with the tantalizing aroma of freshly baked bread. Or as Jim would say, that’s how we bake the world a better place.
Recipe – No-Kneed Crusty White Bread – adapted from King Arthur baking
-
-
-
- Prep Time – 5 minutes
- Baking Time – 30 – 40 minutes
- Resting Time – 5 hours
- Makes 3 – 4 loafs
-
-
Ingredients
-
- 7 1/2 cups (900g) Unbleached All-Purpose Flour
- 3 cups (680g) water, lukewarm (about 105°F)
- 1 tablespoon (18g) table salt
- 1 1/2 tablespoons (14g) yeast
Note: Up to half of the total flour can be whole wheat flour. To prevent the dough from being dry add an additional 2 teaspoons of water for each cup of whole wheat flour.
Instructions for Making Dough
- Combine the ingredients in a large (6 quart) mixing bowl and stir everything together. You can stir it with a spoon, or whisk, or use a stand mixer (medium speed for 30 to 60 seconds). This makes a very sticky, rough dough.
- Let the dough rise. Cover the bowl with a lid or plastic wrap and leave it at room temperature for 2 hours. [There’s no need to grease the bowl].
- Refrigerate it for at least 2 hours and up to 7 days. The longer you keep it in the fridge, the tangier it’ll get.
- About 90 minutes before you want to serve your bread, take the dough out of the fridge.
Instructions for Baking
- Grease your hands and pull off about a piece of dough between 400 grams and 540 grams. Form into a ball or a log.
- Place the dough on a piece of parchment paper (if using the Challenger), or onto a lightly greased parchment-lined baking sheet.
- Sift a light coating of flour over the top to help keep the dough moist. Cover the dough and allow it to rise/expand and warm to room temperature. (approximately 60 minutes). If your kitchen is cold use the Brod & Taylor proofer.
- Preheat your oven to 450°F while the loaf rests.
- If you’re using a Challenger Bread Pan, place it on a middle rack while the oven preheats.
- After the oven is preheated
- If using the Challenger carefully put the dough on the heated base using the parchment paper.
- Take a sharp knife, and slash the dough 2 or 3 times. The cut should be about 1/2″ deep.
- If you are not using the Challenger carefully pour the 1 cup hot water into the shallow pan on the rack beneath. It’ll bubble and steam.
- Place the dough in the oven and bake for 25 to 35 minutes, until it’s a deep, golden brown.
- Remove the bread from the oven, cool it on a rack – and enjoy.


